Webhooks
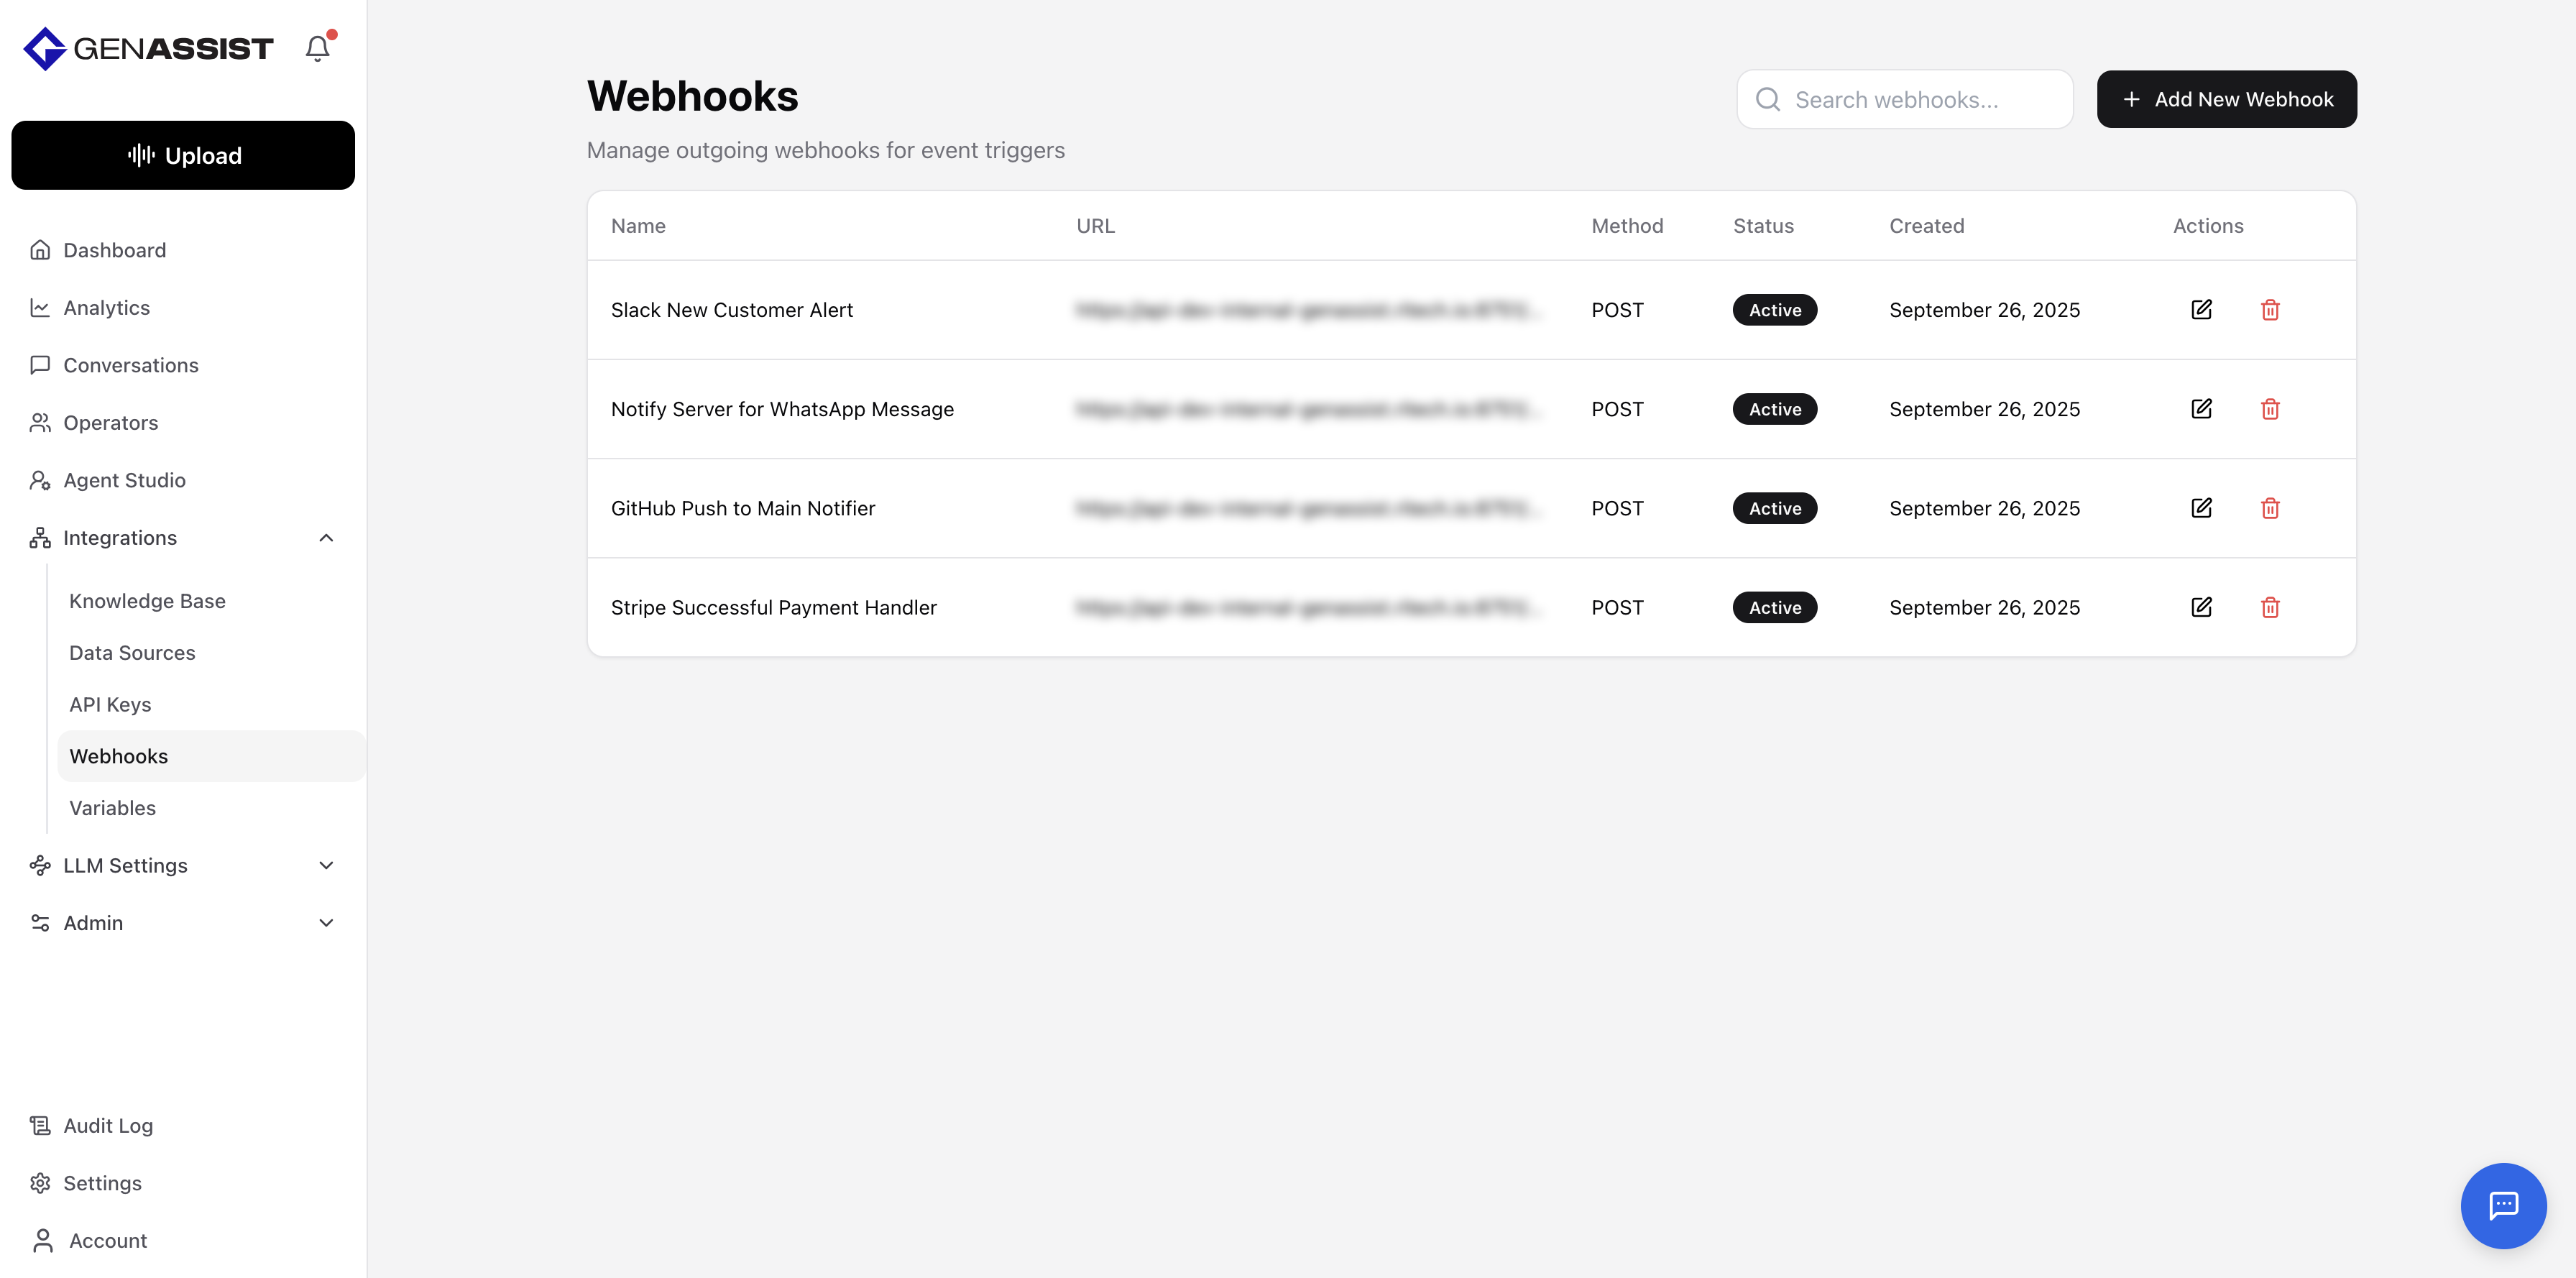
Webhooks are used to send automated messages or data from GenAssist to external systems when specific events occur within a workflow. For example, a webhook can be used to notify a CRM system when a customer conversation is completed.
To manage webhooks, navigate to Integrations → Webhooks from the main navigation menu. This screen lists all configured webhooks.
Creating a Webhook
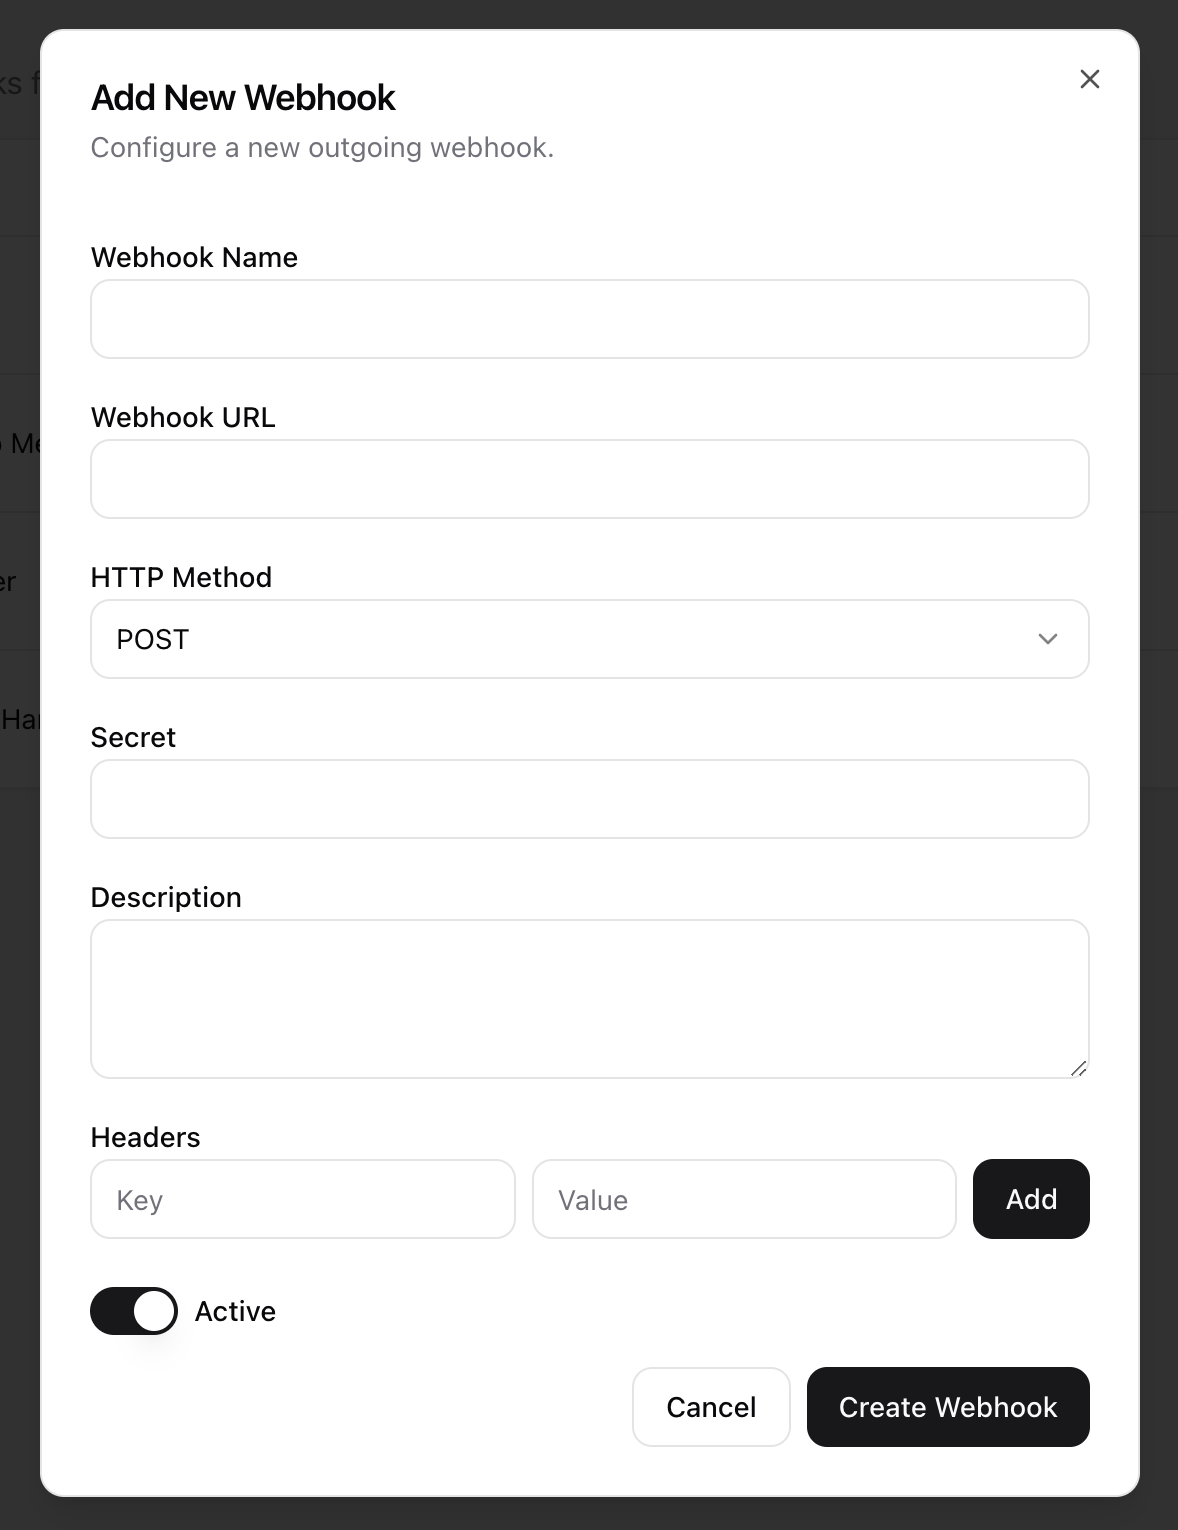
- Click the + Add New Webhook button in the top-right corner.
- The Add New Webhook dialog will appear.
- Provide a unique Webhook Name.
- Provide a valid Webhook URL.
- Select the HTTP Method to use for the request (either POST or GET).
- Provide a Secret for verifying the webhook’s authenticity. (Optional)
- Provide a Description. (Optional)
- Provide any custom Headers to include in the request. (Optional)
- Use the toggle to set the webhook as Active.
- Click Create Webhook.
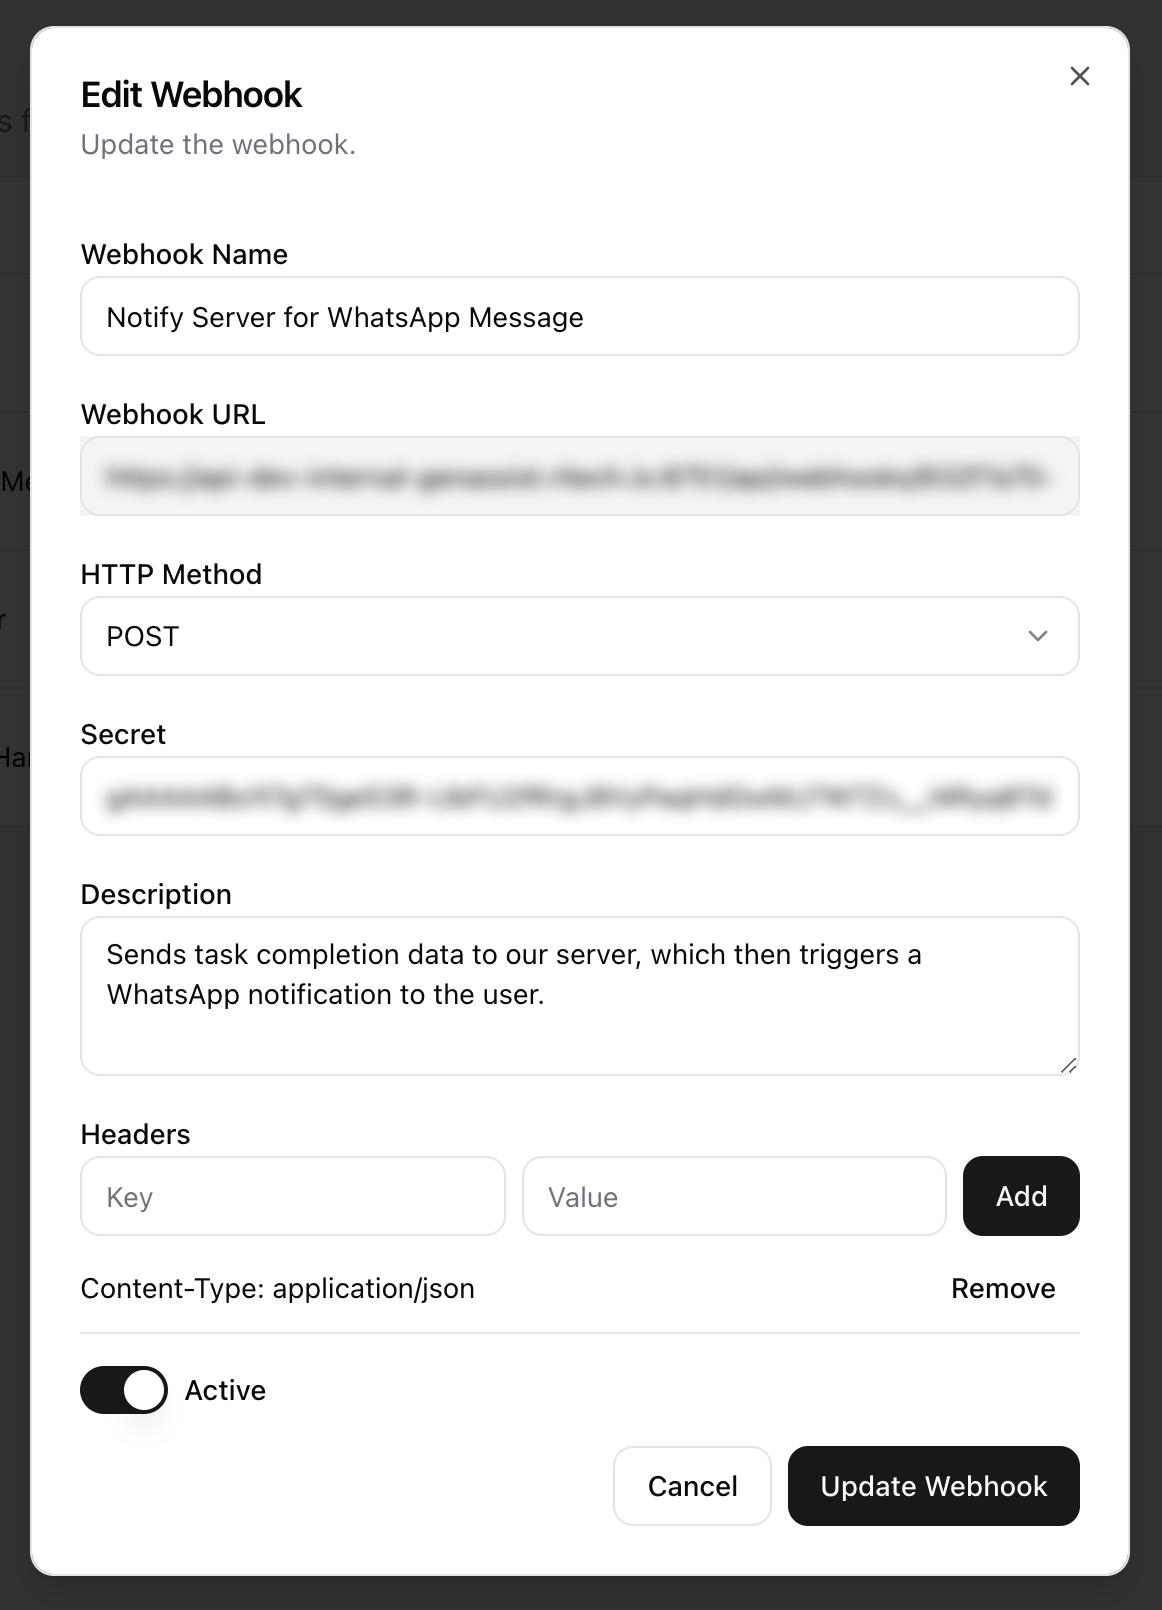
Editing a Webhook
- Click in the Action column.
- The Edit Webhook dialog will appear, prefilled with the existing information.
- Make the necessary changes. The Webhook URL cannot be changed after creation.
- Click Update Webhook to save the changes.
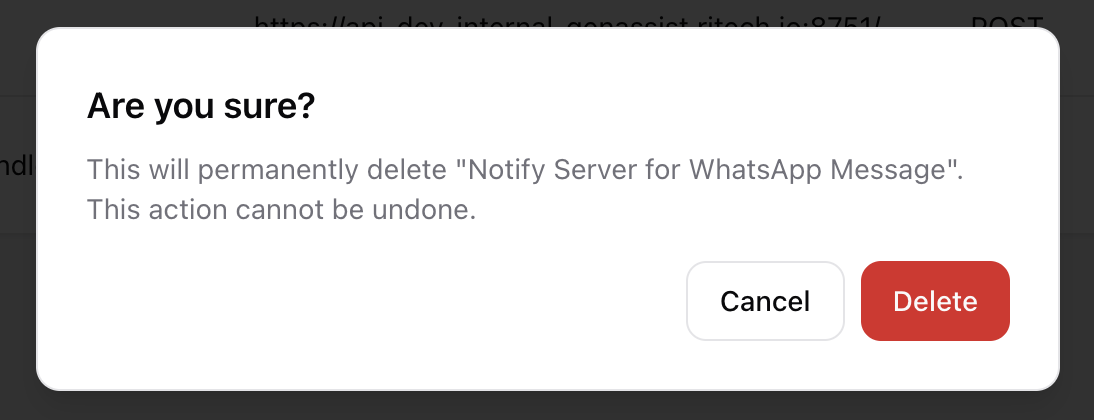
Deleting a Webhook
- Click in the Action column.
- A confirmation dialog will appear to prevent accidental deletion.
- Click Delete to permanently remove the webhook.