Knowledge Base
A knowledge base (KB) is a collection of information that your workflows can use to find answers and respond to user queries. GenAssist uses Retrieval-Augmented Generation (RAG) techniques to search the KB for relevant information and provide it to an LLM for generating accurate, context-aware responses.
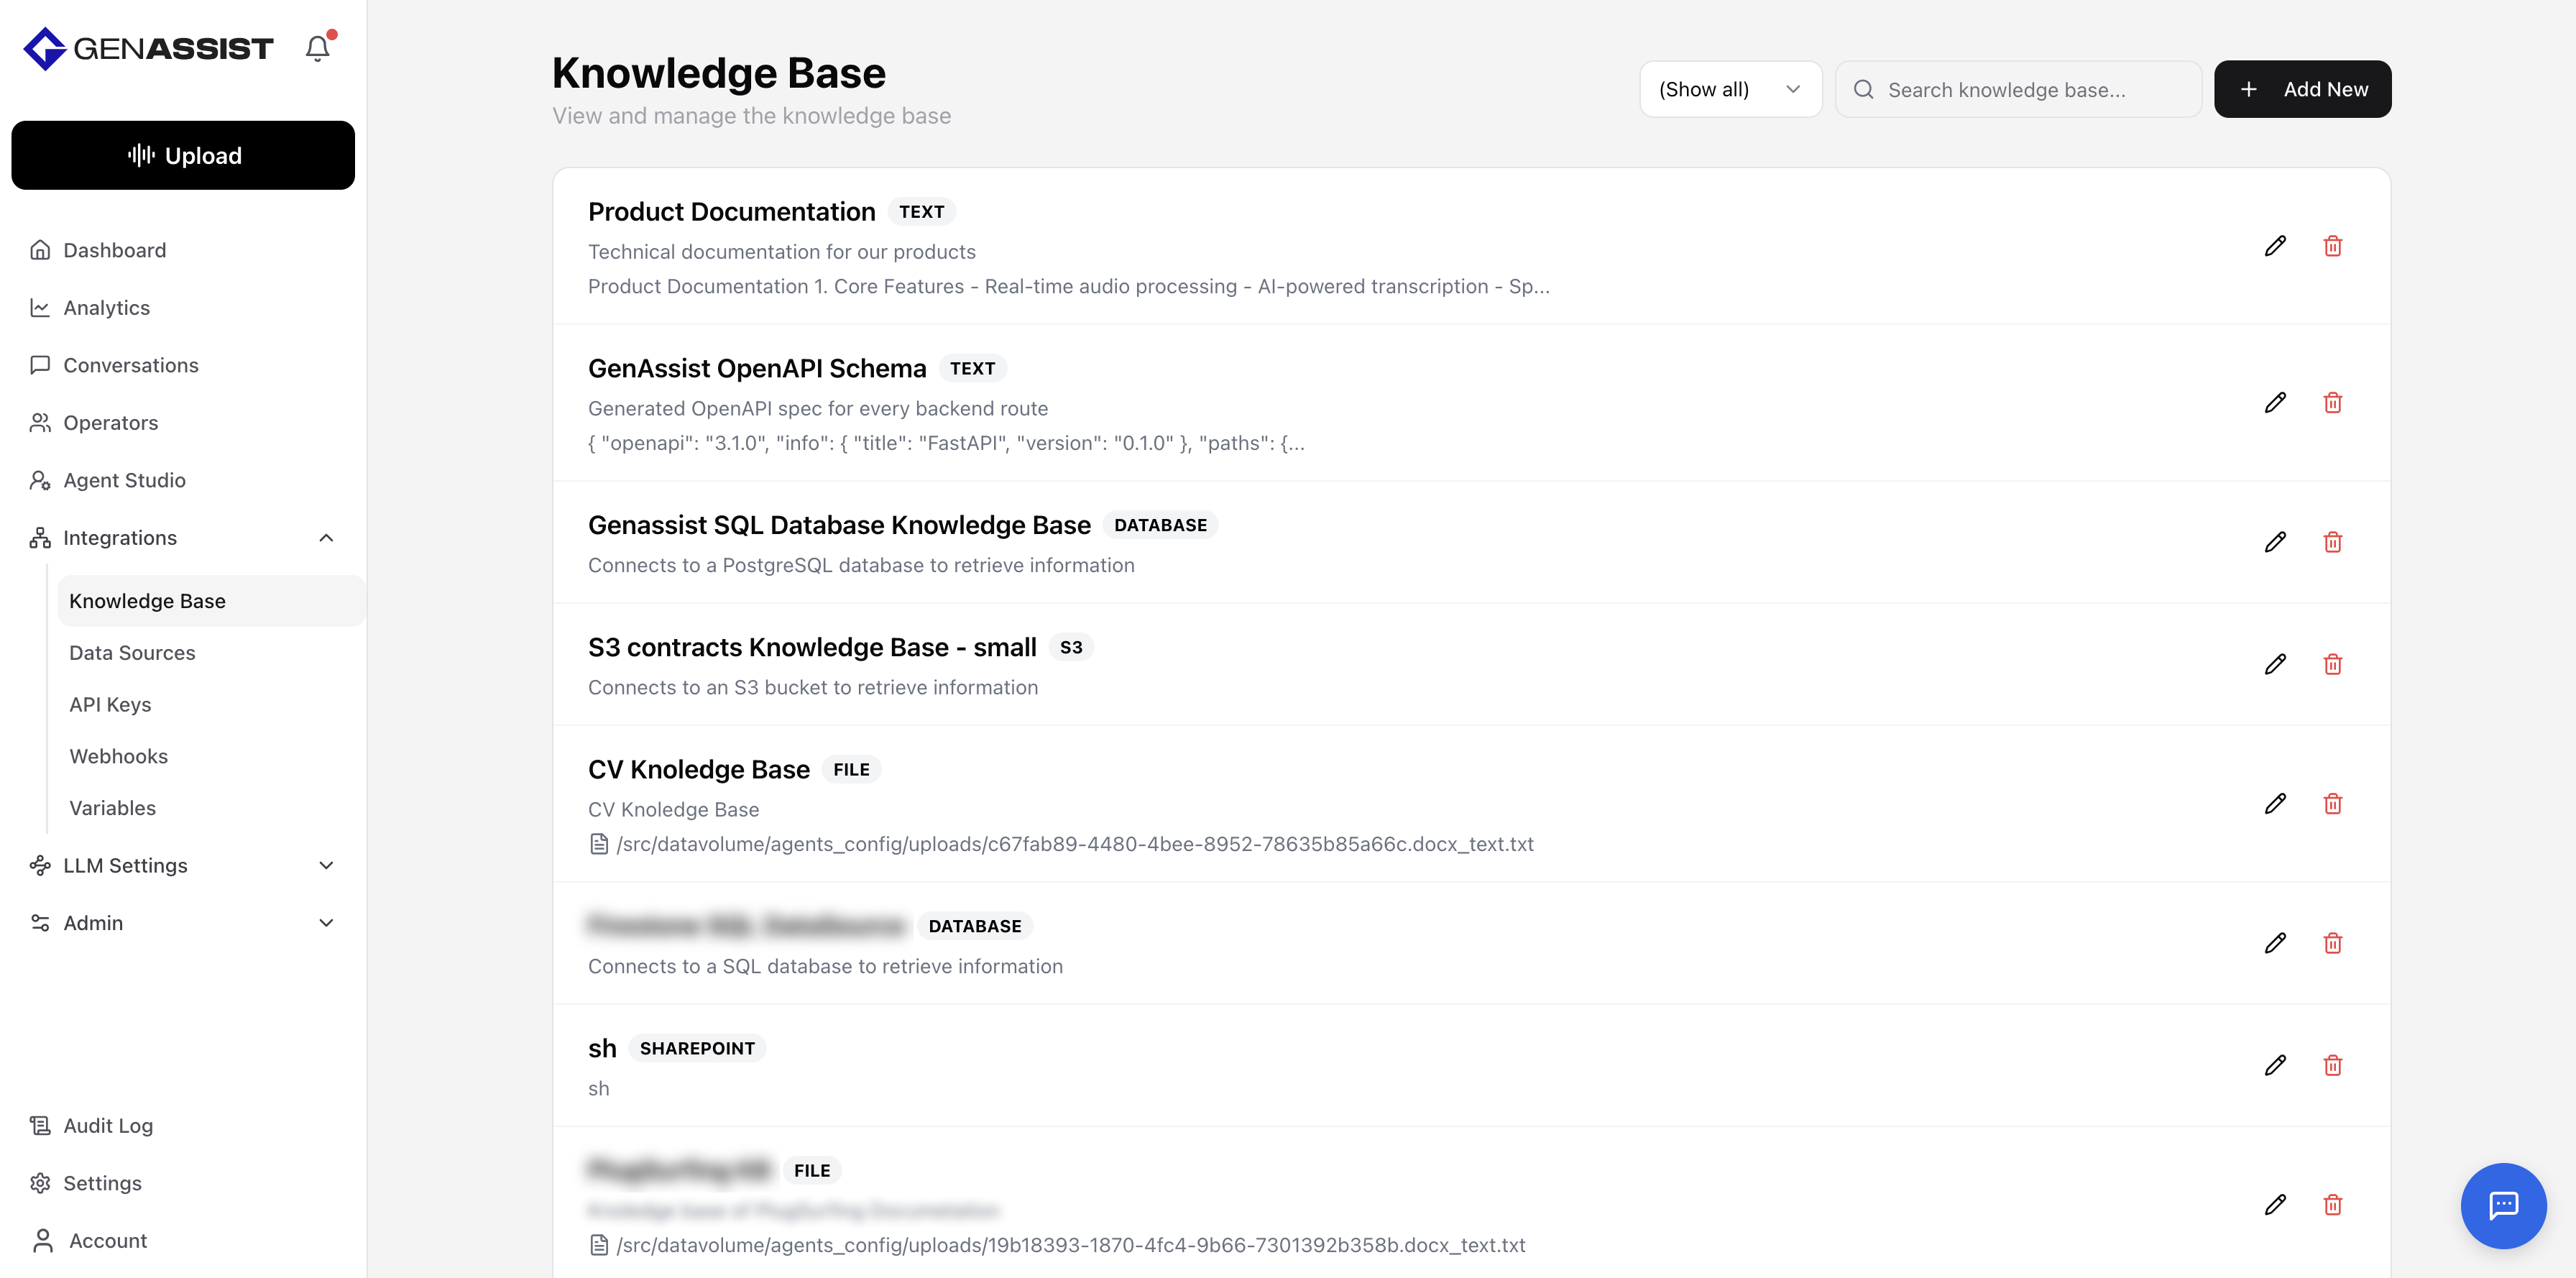
To manage your KBs, navigate to Integrations → Knowledge Base from the main navigation menu. This screen lists all existing KBs.
Creating a Knowledge Base
- Click the + Add New button in the top-right corner.
- The New Knowledge Base screen will appear.
- Provide a unique Name for the KB.
- Provide a Description.
- Select the Type of data to be ingested. The required fields will change based on your selection. The available types are:
- Text: For directly pasting content into a text field.
- File: For uploading a file from your computer.
- S3: For selecting a preconfigured data source from Amazon S3 and specifying details, with an option to set a sync schedule for automatic updates.
- URL: For providing a web page URL to scrape content from.
- SharePoint: For selecting a preconfigured data source from SharePoint and specifying details, with an option to set a sync schedule for automatic updates.
- Enable and configure one or more of the following RAG strategies, which determine how your data is processed and retrieved:
- Vector Database: For semantic search. Configure the Database Type, text chunking options, and Embedding Model.
- LEGRA: For graph-based retrieval and generation. Configure the Embedding Model.
- LightRAG: For graph-based retrieval with LLM completion. Configure the Search Mode, Embedding Function, LLM Model Function, and text chunking options.
- Click Create Knowledge Base.
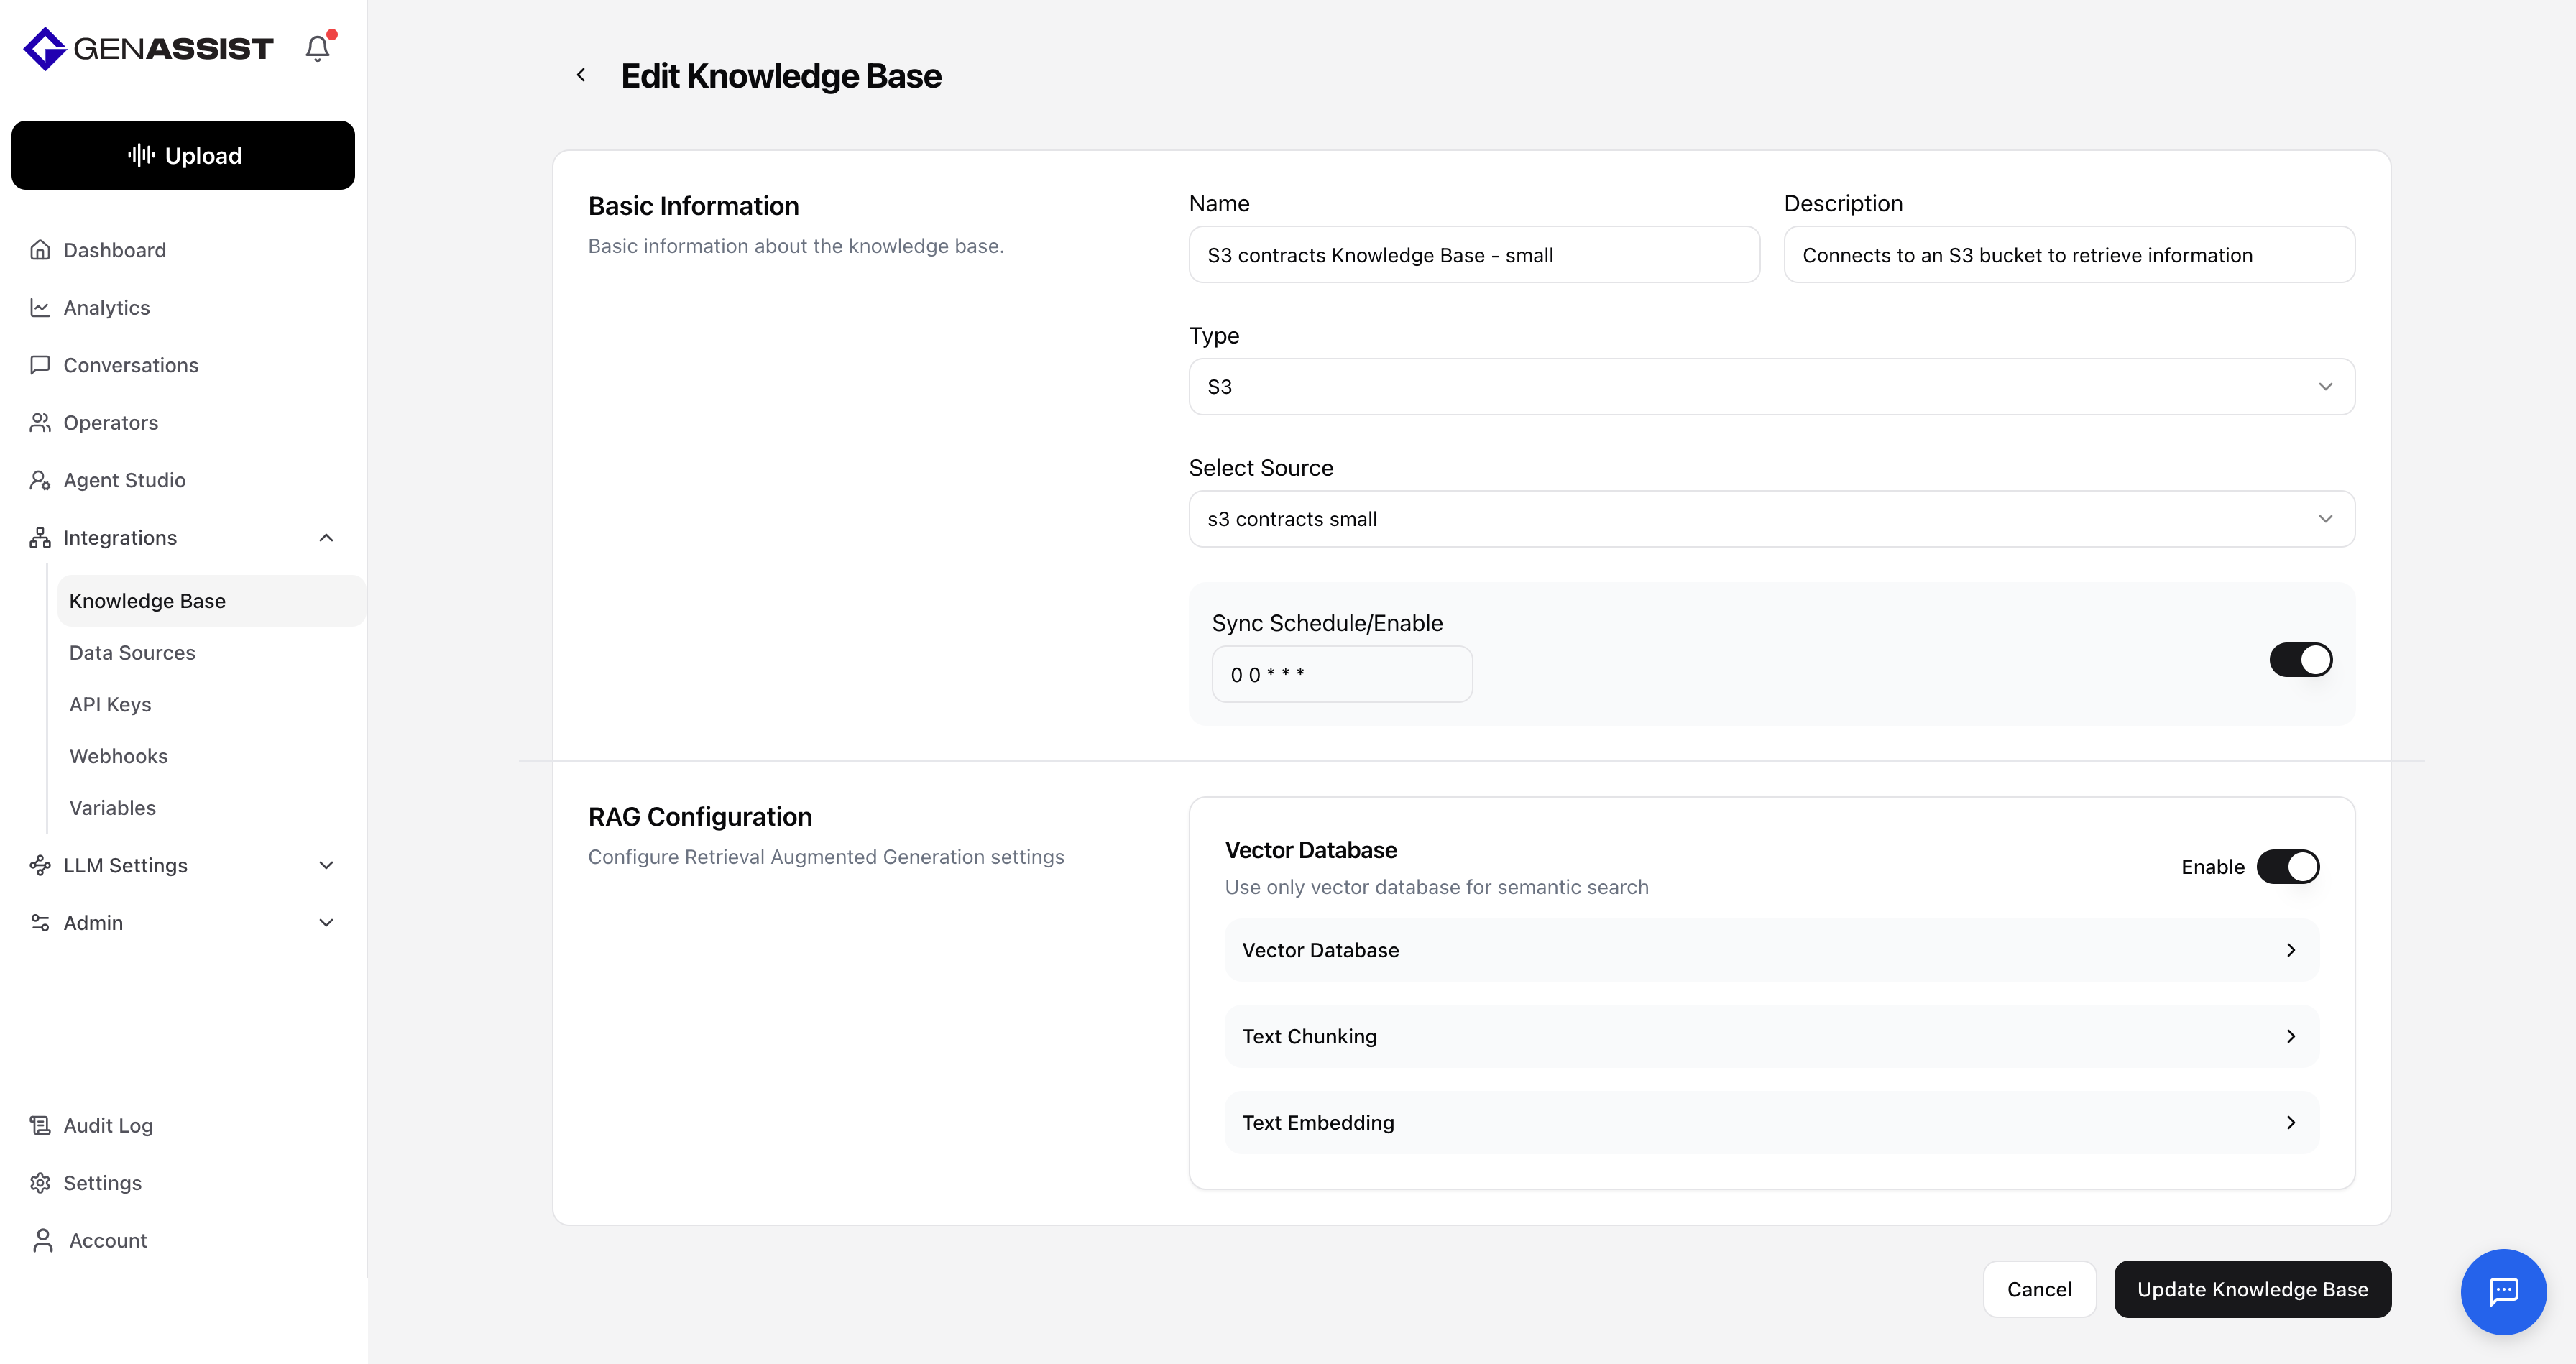
Editing a Knowledge Base
- Click on the right of the KB name.
- The Edit Knowledge Base screen will appear, prefilled with the existing information.
- Make the necessary changes.
- Click Update Knowledge Base to save the changes.
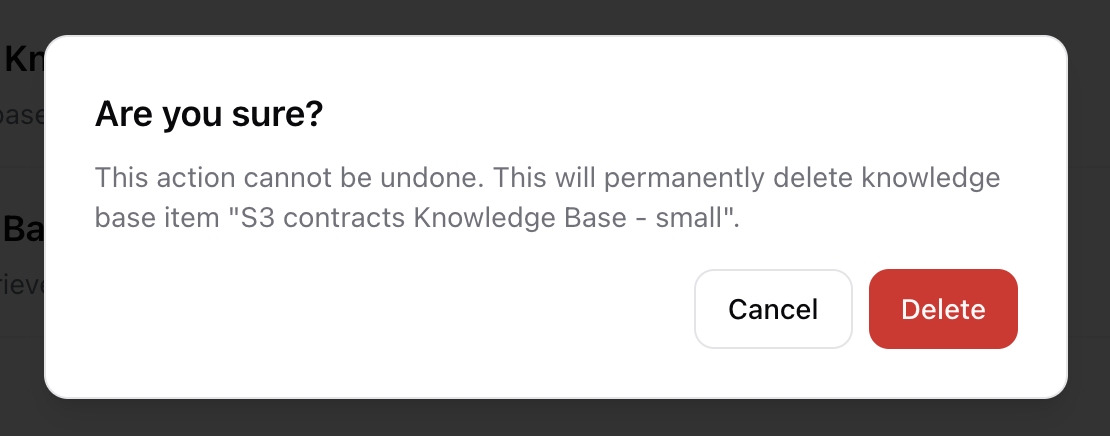
Deleting a Knowledge Base
- Click on the right of the KB name.
- A confirmation dialog will appear to prevent accidental deletion.
- Click Delete to permanently remove the KB.